return to home. Back to Atari Email

my FUJICASE, page 2

The size of the case was dictated by the components(boards) I was installing. This made things more difficult. It also meant thinking about how to stack the boards. The front display came first, controls protrude through. Then comes the drive board. I have to save room for the port connectors, fan, hard drive, modem, printer interface, cartridges, OS replacement board and the pic controller for the front controls and possibly an infra red keyboard. I think I need more room!

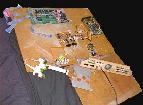
Here are pictures of its assembly.
Click for a larger view.
templates.
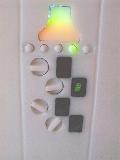
Front with controls, display bezels, and fuji light.
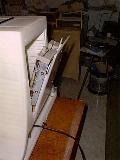
gussets
Closeup.

Mostly finished pieces.
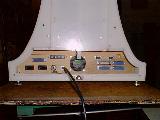
Back view with port/power cord panel removed.

Inside front.
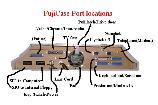
Chart showing the ports functions.

Front view.
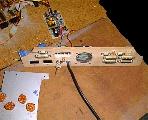
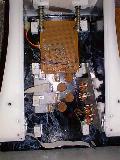
Port panel during construction.

Back view.
And more stuff being made ready to install.

Controls
Pic and button pcb, alpha numeric display board, both installed, switch board almost ready.

Controls
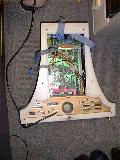
Switchboard installed. Needs overall height reduced.

Controls
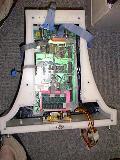
800XL with 1 meg of ram being installed.

Controls
And port panel being fitted.

Controls
And finally, the rear cover that the XF551 drive mounts to being fitted.


I am working on page three with more pics.


Page 1 top of page